Most watermark tools guess which mark to remove. That's fine when there's an obvious platform logo in the corner — but I kept running into footage where the guess was wrong. A clip with a TV station bug and a lower-third; a screen recording with the app's watermark plus my own on-screen notes; a brand logo that isn't on anyone's preset list. Auto-detection would either grab the wrong thing or hedge. To be clear up front, this is for footage I own or am licensed to edit — a logo I put on, a bug on my own recording, licensed B-roll I hold clean rights to. If it isn't yours, don't.
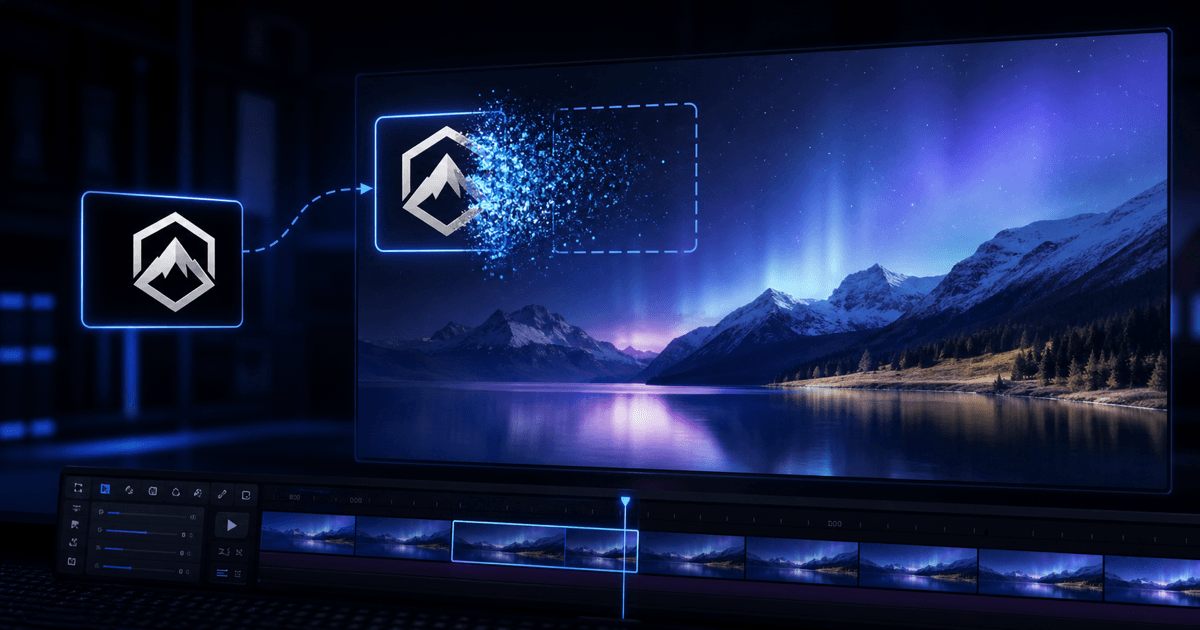
What actually solved it was flipping the order: instead of letting the tool decide, I show it exactly what to remove by uploading a picture of the logo first, then the video.
When auto-detect isn't enough
I reach for the sample-based approach specifically when:
- There are two or more marks in the frame and I only want one gone.
- The logo is a long-tail one no tool has a preset for — a regional broadcaster, a niche app, a small brand.
- The mark sits somewhere unusual — not the tidy bottom-right corner detectors expect.
- Auto-detect already missed or mis-targeted it on a first pass.
If it's a mainstream platform mark (TikTok, a big AI generator), the regular watermark tool already knows those and I don't bother uploading a sample. The custom route is for "this exact thing, nothing else."
How the two-step upload works
On the Remove Any Logo tool it's deliberately in two steps:
- Upload a picture of the logo — a PNG, JPG or WebP. This is the required first step; the tool won't process until it has the sample.
- Upload the video. The tool then finds that logo across the frames and rebuilds the background underneath, even as the mark moves or the scene changes.
Then it's the same as everything else here: I watch the first 5 seconds free at full resolution with no watermark to confirm it grabbed the right mark, and only spend credits to export the full clip. I wrote the click-by-click version as a tutorial.
Getting a good sample (this is the whole game)
The removal is only as good as the picture I give it. What I've learned:
- Crop tight to the logo itself. Screenshot a frame from the actual video and trim right to the mark — not a big region around it.
- Keep the original resolution. Don't scale the screenshot up or down; a crisp, native-size sample matches far better than a blurry blown-up one.
- Grab the exact version. If the video uses a particular color or wordmark variant of a logo, screenshot that one, not a version you found elsewhere.
- A frame from the same video is ideal — same compression, same size, same rendering as what needs removing.
A loose or upscaled sample can weaken the match. A tight, sharp crop gives the tool a better reference and is usually the best place to start when a result misses the mark.
Is my uploaded logo kept or reused?
The sample is submitted as an input for that removal task; it is not added to the platform's shared logo-sample library. Like other uploaded media, it may be retained with the task so recent results remain available. The privacy policy explains storage and deletion at a product level.
FAQ
What if the logo moves around the frame?
That's handled — the mark is tracked across frames, so a bouncing or drifting logo is cleaned the same as a static corner one.
Can I remove two different logos at once?
The flow targets the logo you upload. For a second, distinct mark I run it again with that logo's sample, or reach for the subtitle/text tool if the other thing is burned-in text.
Why upload a sample instead of just drawing a box?
A box says where; a sample says what. Handing it the actual logo lets it follow the mark as it moves and rebuild only those pixels, rather than clearing a fixed rectangle that the logo might drift out of.
Does it work on a logo I added myself?
Yes, and that's the cleanest case. If you still have the project file, re-exporting without the logo is even better; if you only have the flattened video, uploading a crop of the logo is the way.