
This guide walks through removing the background from a single image — a product shot, a portrait, or a marketing asset — from upload to a transparent export. Everything except the final original-resolution download works without an account.
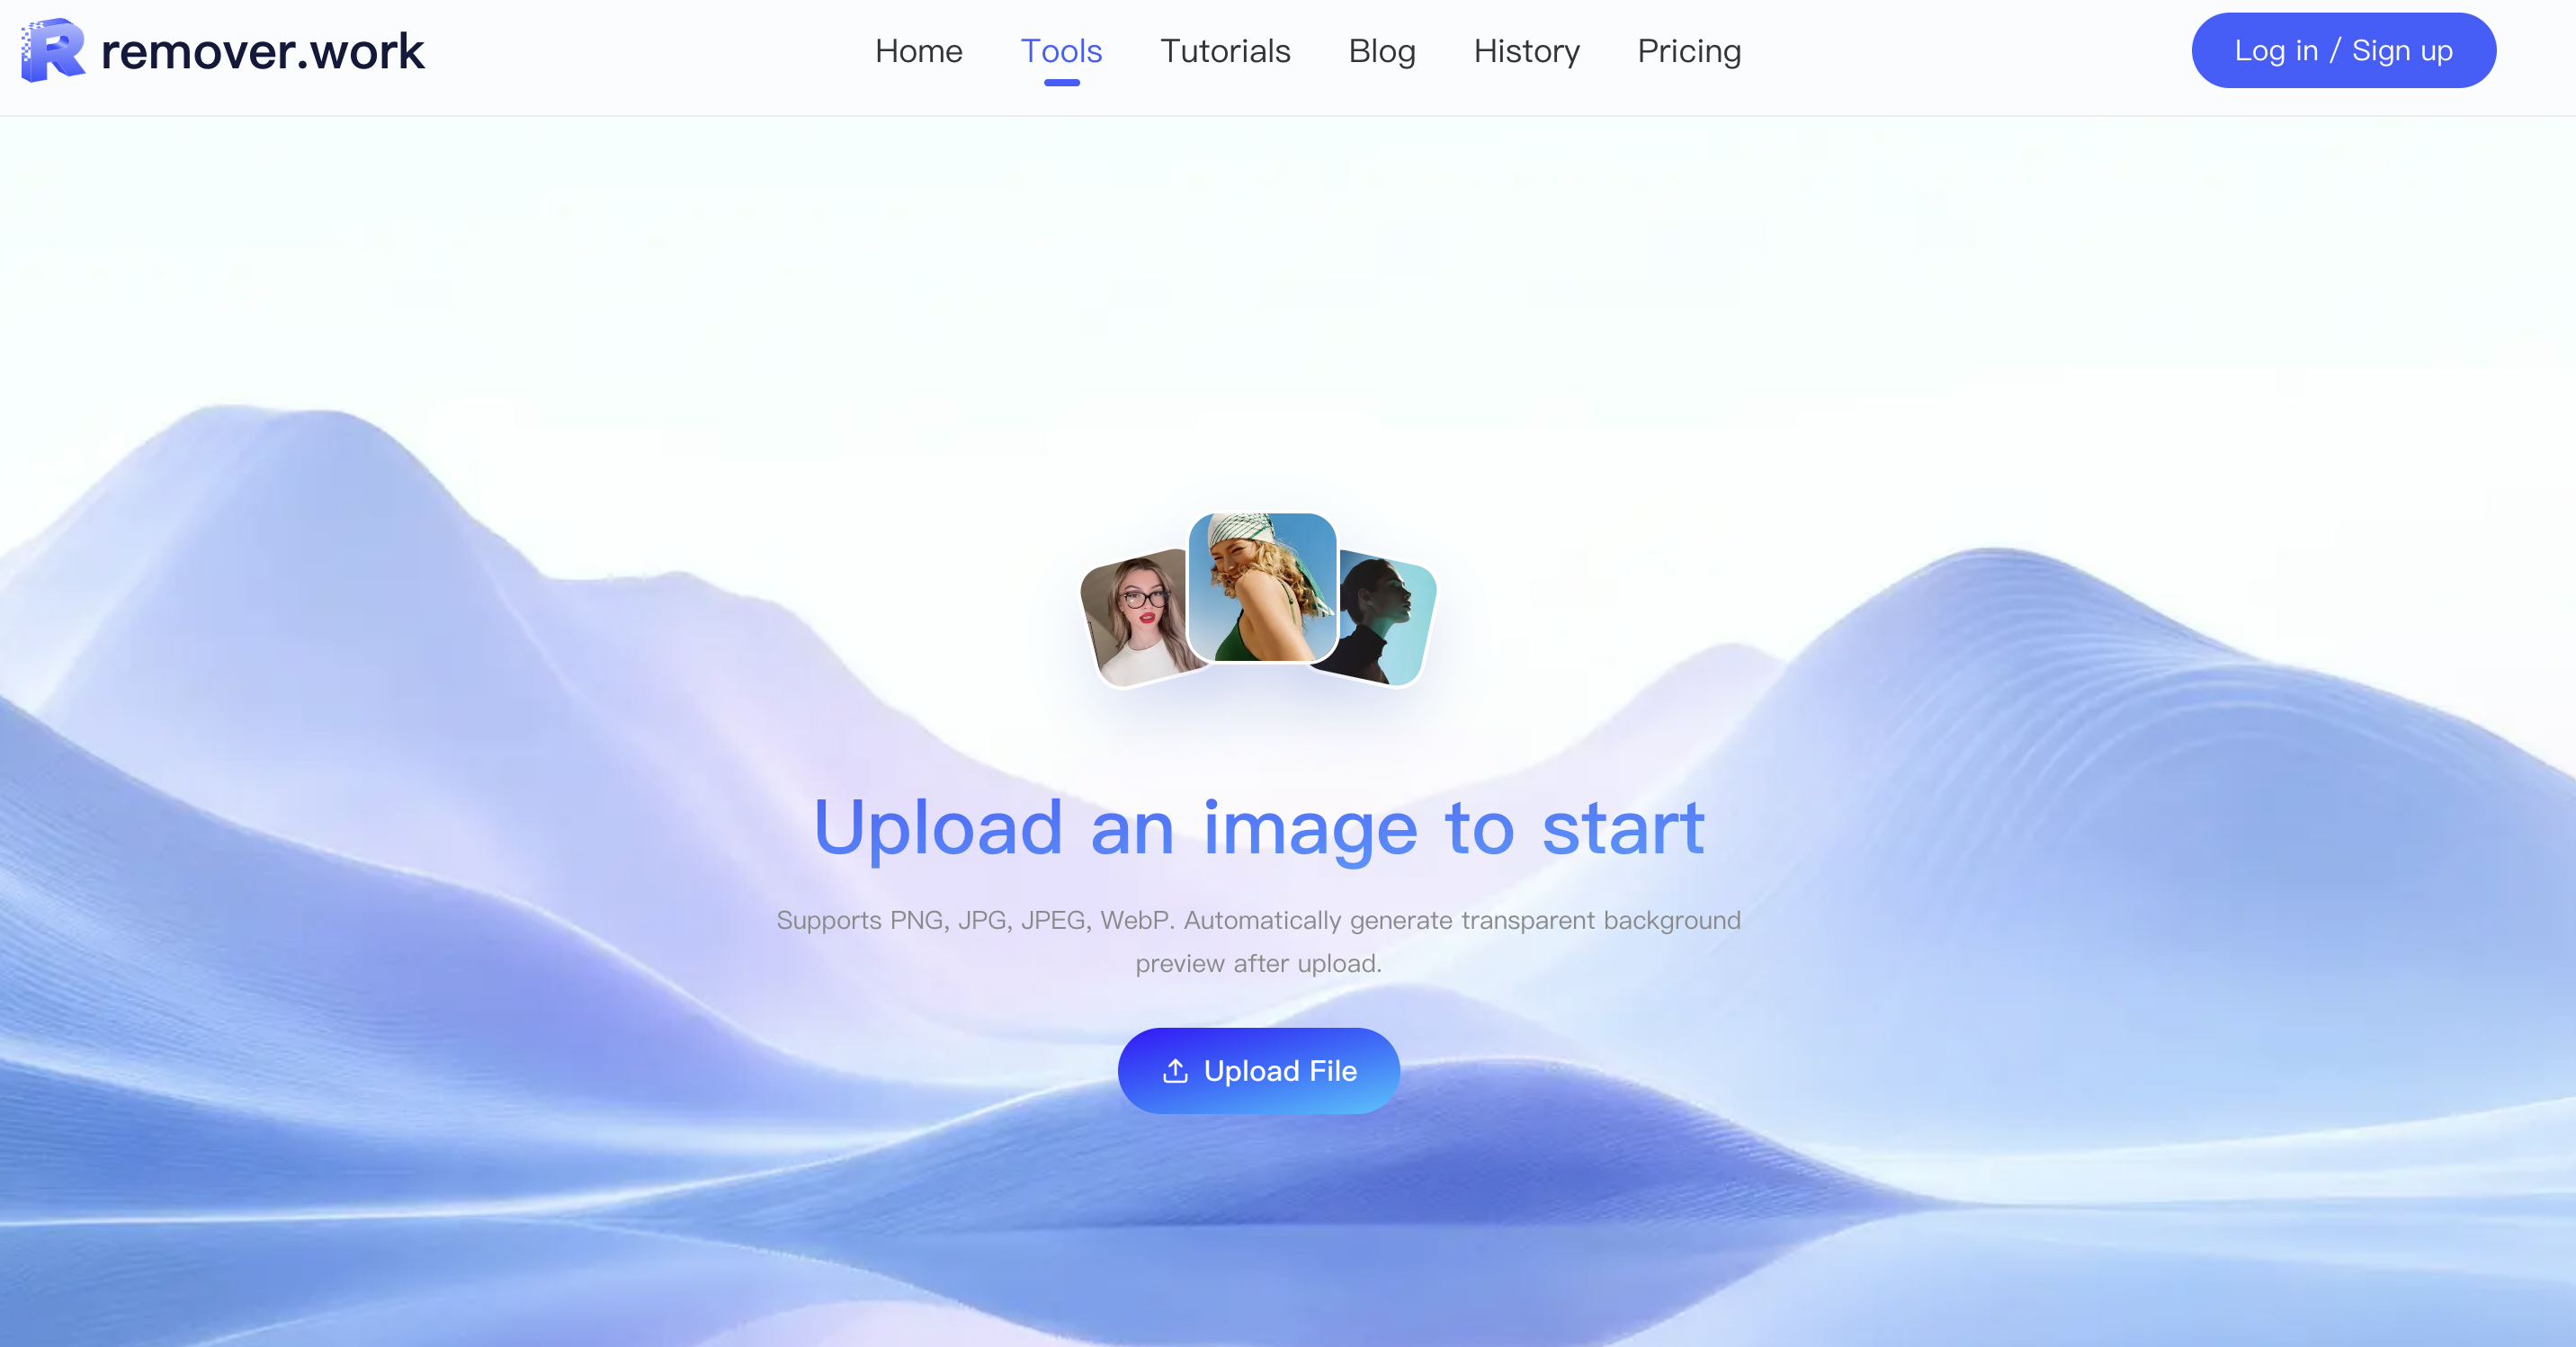
1. Upload the source image
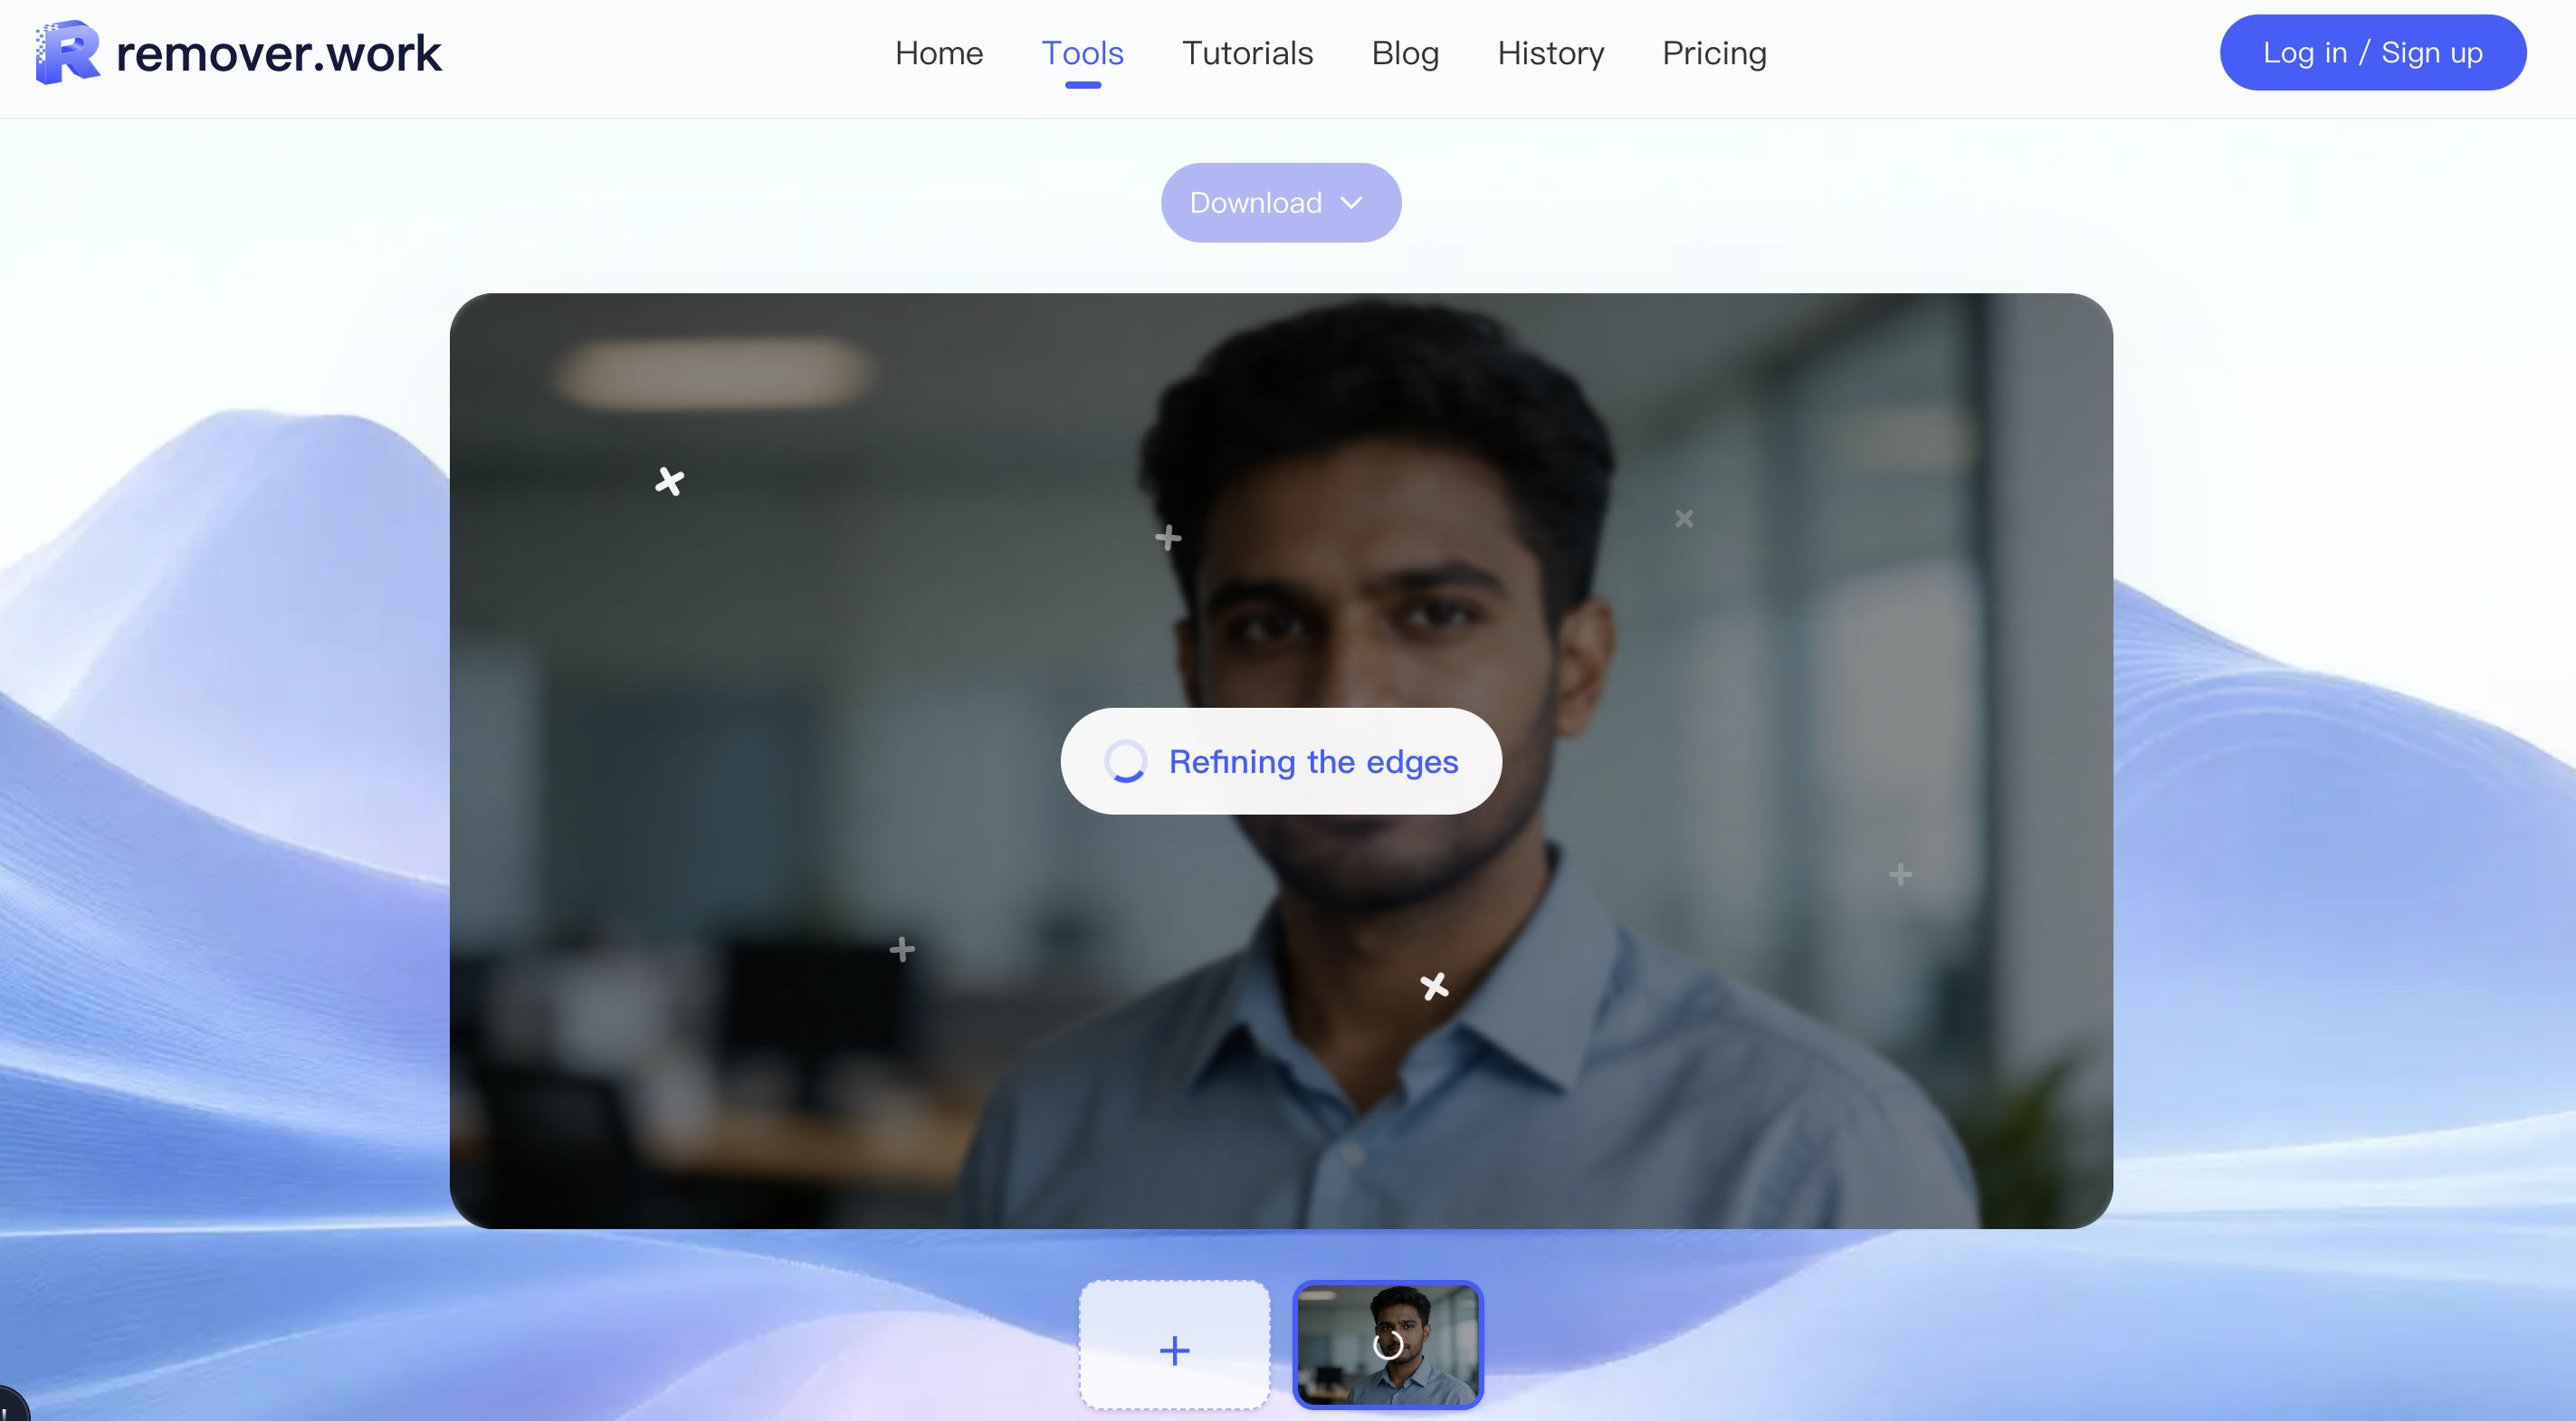
Open the Image Background Removal tool and drop in your file. JPEG, PNG, and WebP are all supported. The workspace shows a local preview immediately while the task prepares — no sign-up required to start.
2. Review the free preview
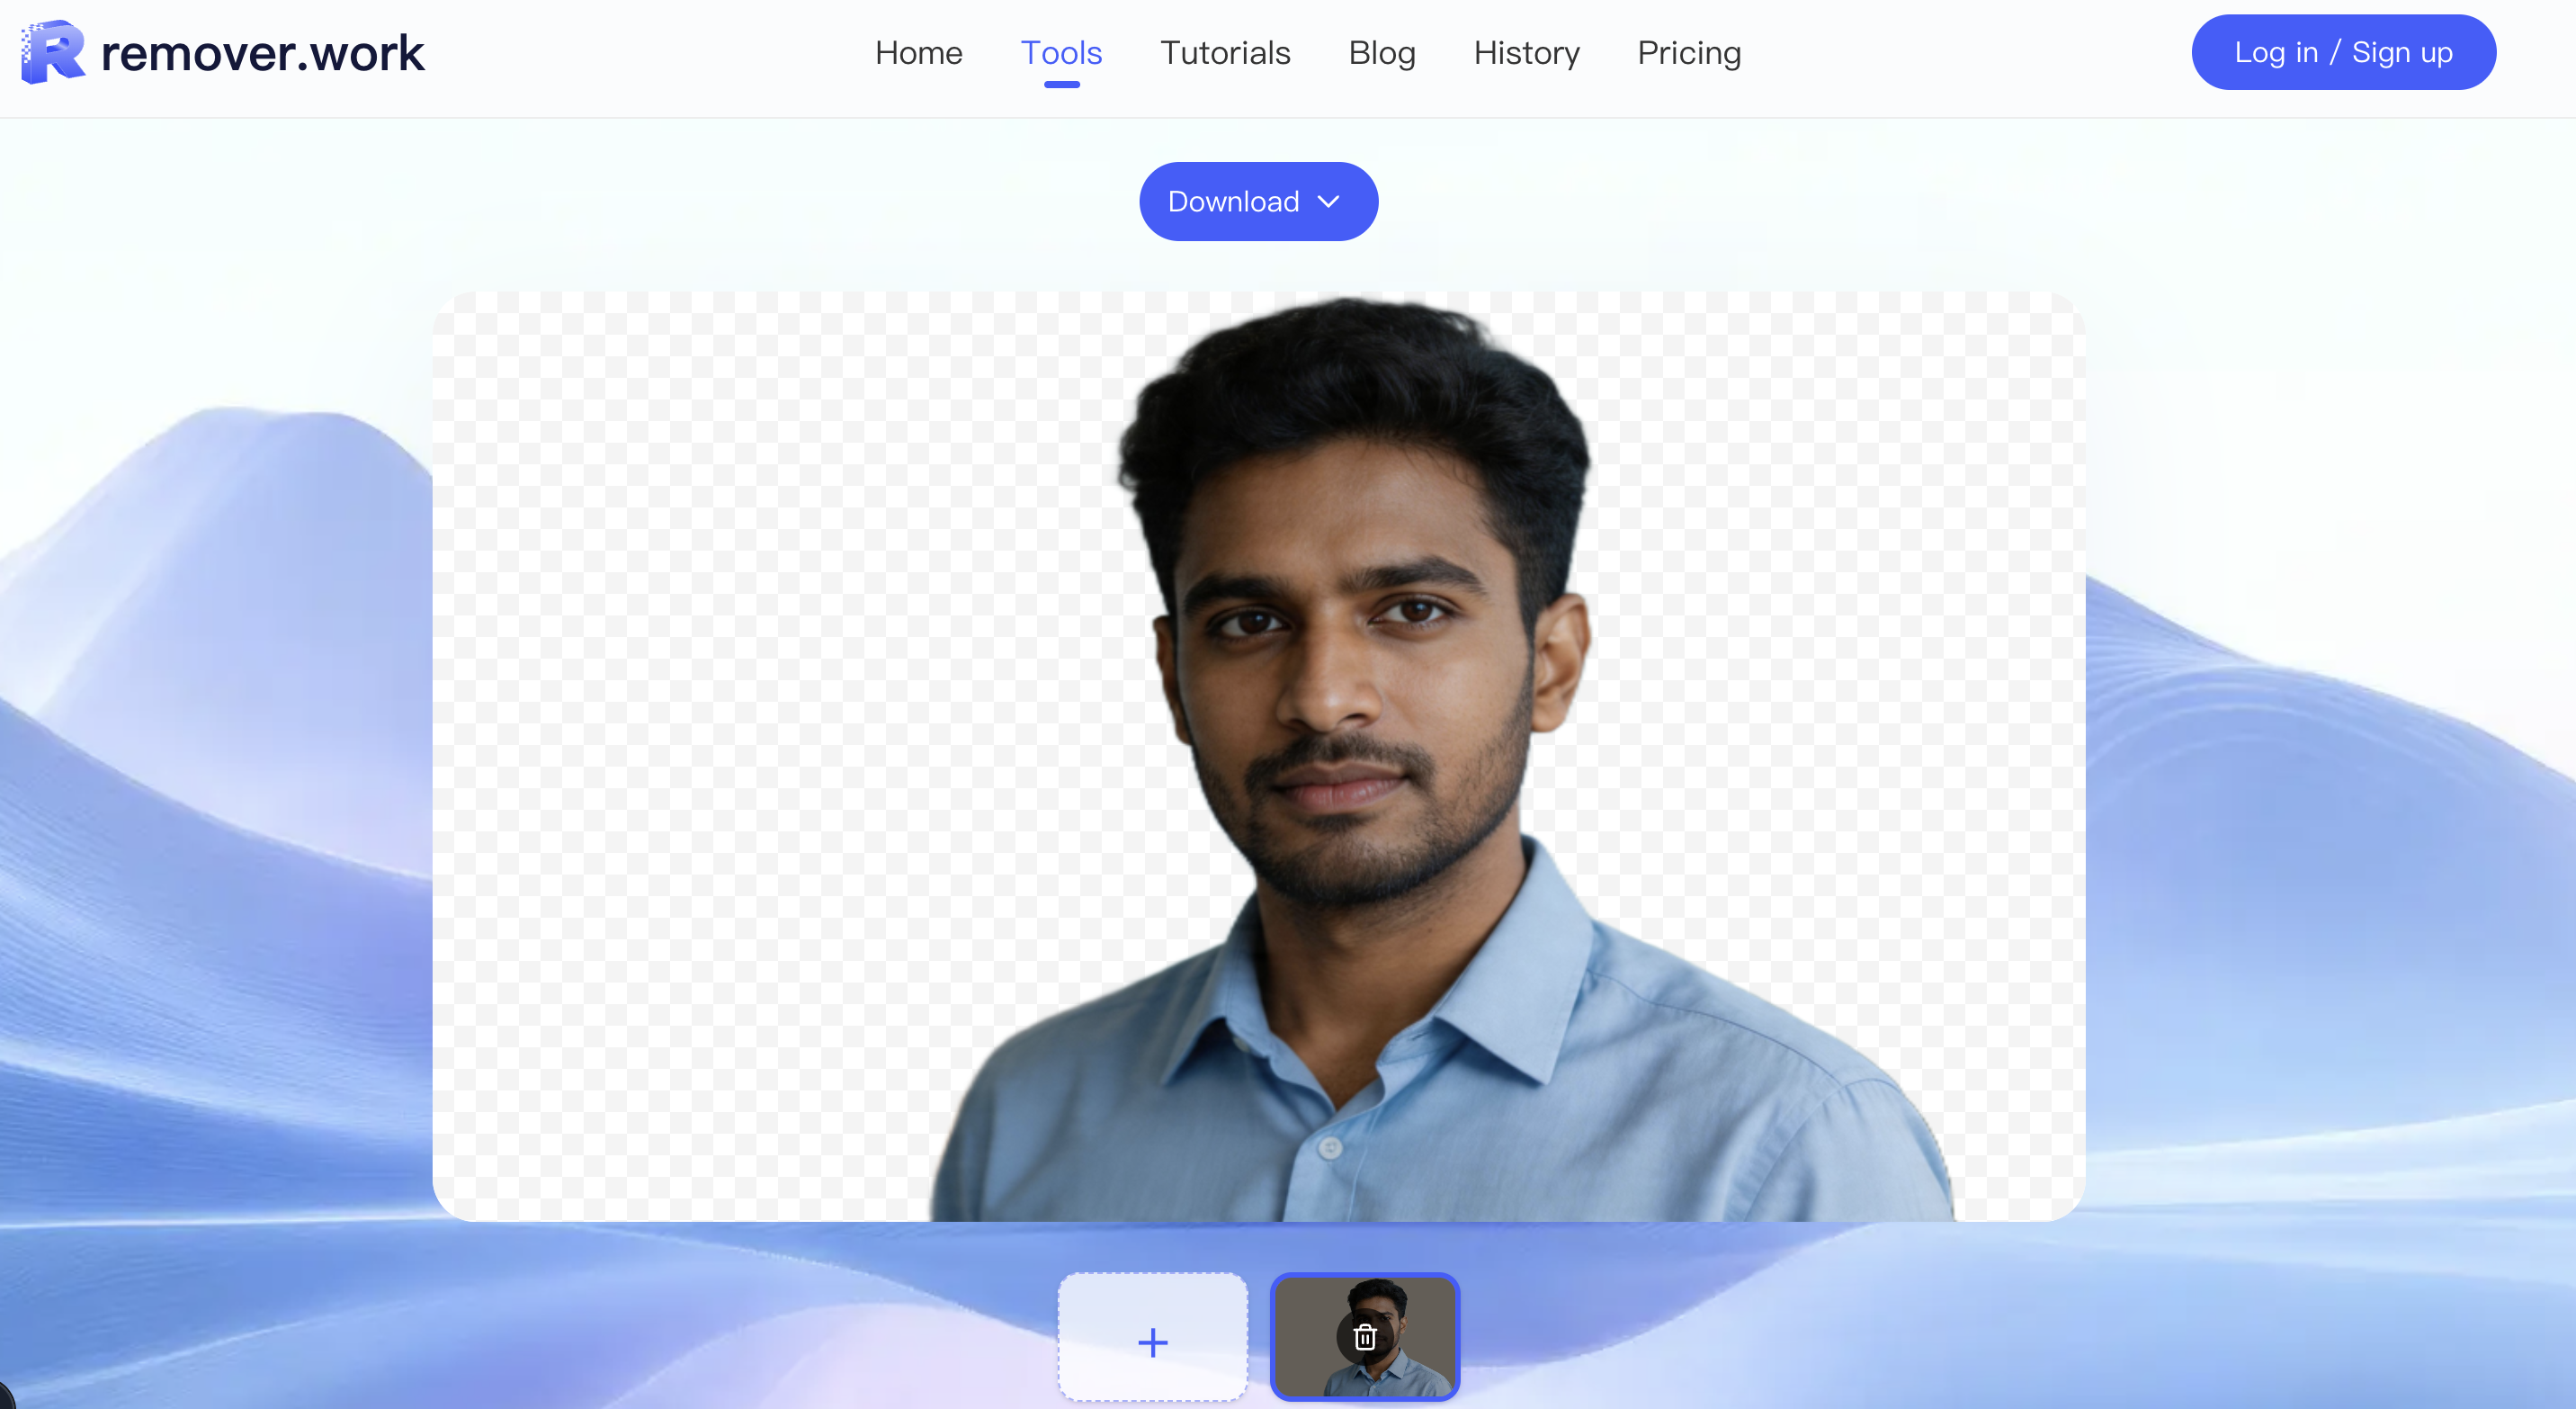
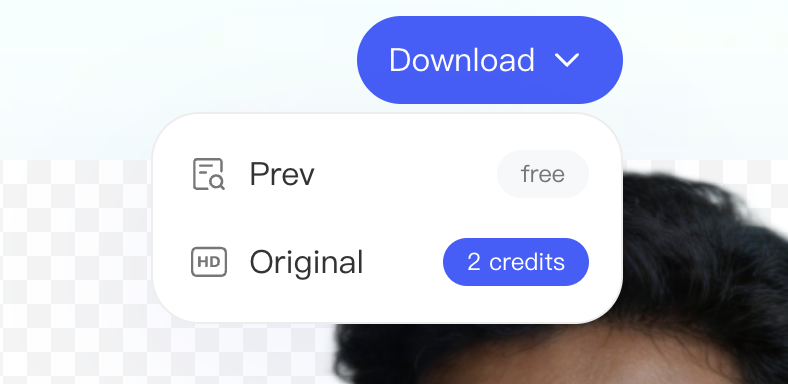
The tool generates a low-resolution preview (longest edge 1024px) with the background replaced by transparency. This preview is free to download, and it's there for one reason: to check quality before you spend anything.
Zoom into the edges — hair, fabric, glass, and other fine detail are where a cutout succeeds or fails. Confirm semi-transparent areas still look translucent and there's no halo left from the old background.
3. Export at original resolution
Once the preview looks right, log in and use credits to export the full original-resolution image. Credits are charged by the source image's pixel count (around 1 credit for images up to 2 MP, more for larger files), so you only pay for the finals you actually keep.
The exported file has a transparent background, ready for a white backdrop, a brand color, or further compositing.
4. Reopen from history
Recent creations keep the same preview and export rules within the retention window. Reopen an earlier task from the history panel to download it again or export at original resolution — no need to re-upload.
For a deeper look at judging cutout quality and prepping store catalogs, see how to remove a background from an image and the e-commerce product photo workflow.